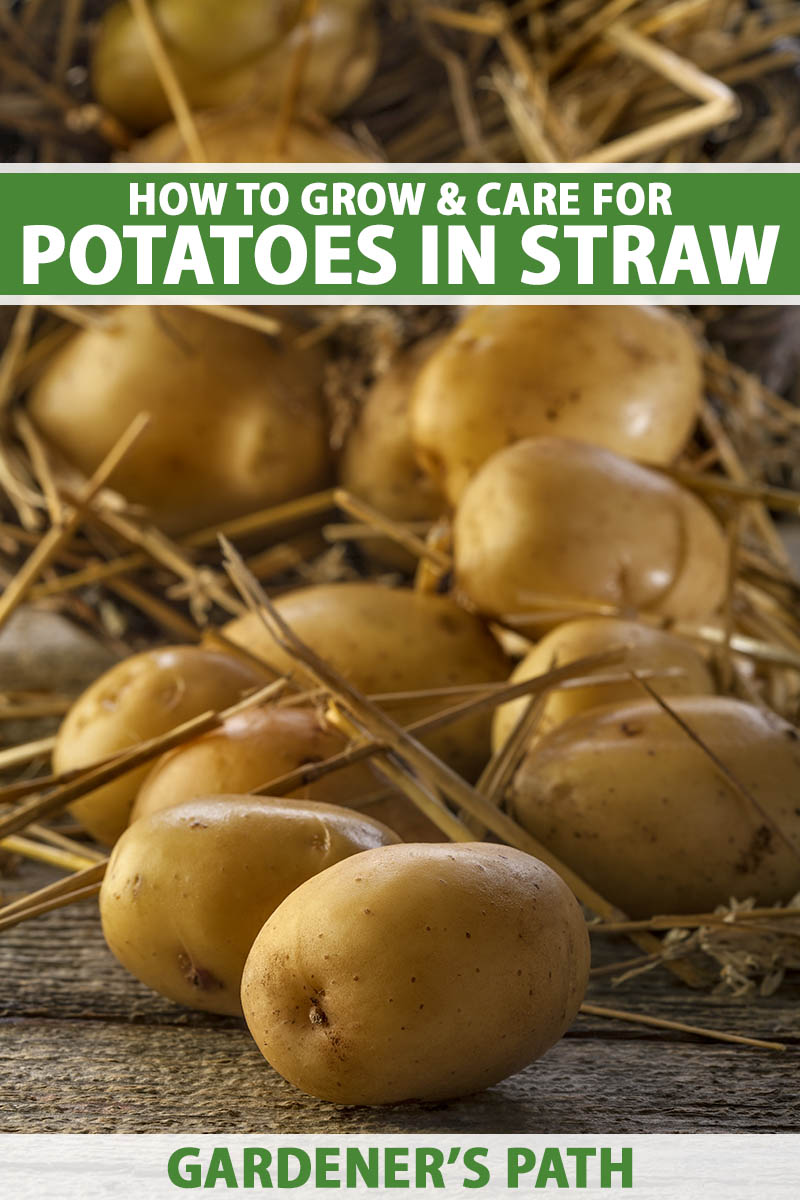
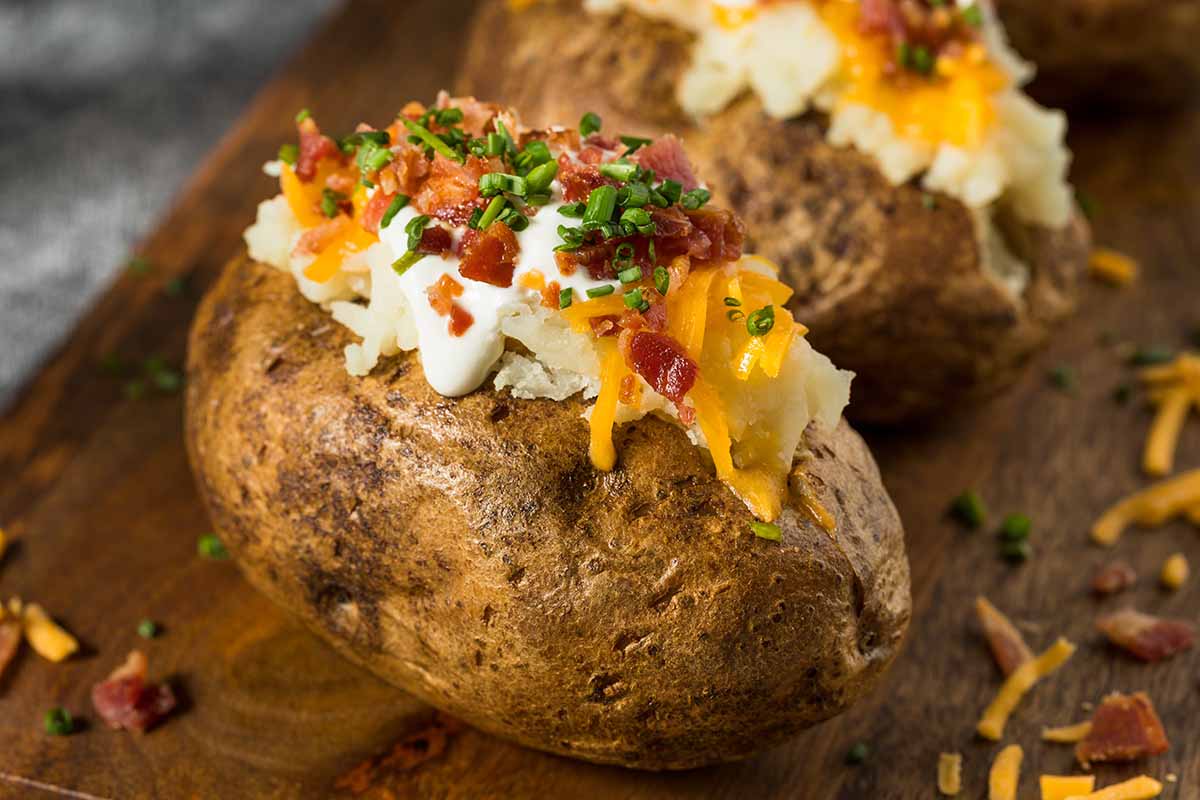
As a health enthusiast and a dabbler in survivalism, I truly appreciate the power of the potato. Even more so when it’s growing in straw.
An almost nutritionally perfect superfood that’s both cheap and delicious, the humble spud is definitely a crop I’ll grow if society collapses.
Heck, the potato is one of my go-to foods now, whether it’s oven-roasted in seasonings or baked plain in the microwave.
We link to vendors to help you find relevant products. If you buy from one of our links, we may earn a commission.
The “growing in straw” part is appealing, too. It’s simple to learn, easy to pull off, and makes use of all those grain stems that would’ve gone to waste otherwise.
And it’s totally worth it – straw for taters is a pretty good trade, if you ask me.
But the right know-how will definitely yield the best potatoes. Luckily for you spud lovers, this guide has all the info you’ll need for this endeavor.
You can thank me for your steak fry sides and hash brown breakfasts later.
Here’s what’s coming up:
Want a spud primer before diving in? Check out our guide to growing potatoes.
A Potato Primer
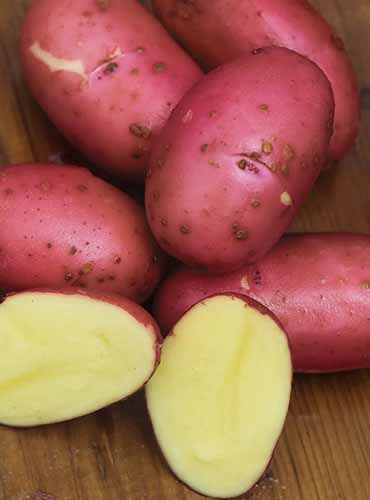
As we’ve established, the standard potato – also known as Solanum tuberosum – is pretty awesome.
Originating from South America, S. tuberosum was a food source for native peoples of the New World as far back as 8,000 BCE.
The Incas were notable spud-munchers, which Spanish conquistadors took note of during their 16th century explorations.
After their conquest of the Incan Empire in the late 1500s, the Spanish took some taters home with them to Europe, and the continent quickly fell in love with this root vegetable.
Nations such as Scotland and Ireland made potatoes a mainstay of their cuisine, and other areas of the globe that were trading with or colonized by Europe started growing them as well.
Potatoes have since become a beloved ingredient in many culture’s dishes, and is one of the most important food crops in the world today!
So yes, the potato is well worth growing. Even in straw, i.e. the dried stalks of cereal grains such as oats, rye, or barley.
But before we continue, we should clarify that there are technically two ways of growing potatoes with straw.
The first is in beds, which is where the tubers are set on top of the soil and a pile of straw is placed on top of the tubers.
The second is via bales, which involves planting tubers in those brick-like bales of straw that hayrides use as seats.
Benefits of Growing in Straw
If you’re primarily used to growing your root veggies in soil, then you may not be familiar with straw-grown spuds and their benefits. Here’s why you may want to give it a go:
Low Cost
Fertile, nutrient-rich soil is a hot commodity in horticulture, while straw is a pretty cheap byproduct of agriculture.
If you use the latter to grow spuds, you can save the former for other plants in your garden, all while saving money!
Less Digging
To harvest your taters from soil, it takes muscle-powered digging with metal objects.
And if you do it wrong, you could seriously damage the tubers, leaving your yields sliced up well before you’re ready to make fries.
Uncovering spuds covered by straw takes no digging – you can simply remove the covering by hand.
And even if you grow them in tightly-packed bales, it takes less muscle to hack apart straw than soil.
Less Weeding
Weeds grow really easy in soil, whereas weeds have a harder time germinating and reaching a pesky size in straw.
Even if they do manage to pop up, the weeds can be removed super easily.
Fewer Soil-Borne Diseases and Pests
Many pathogens and pests need a dense medium like soil in order to survive, grow, and reproduce. In straw, it’s harder for those organisms to do their destructive thing.
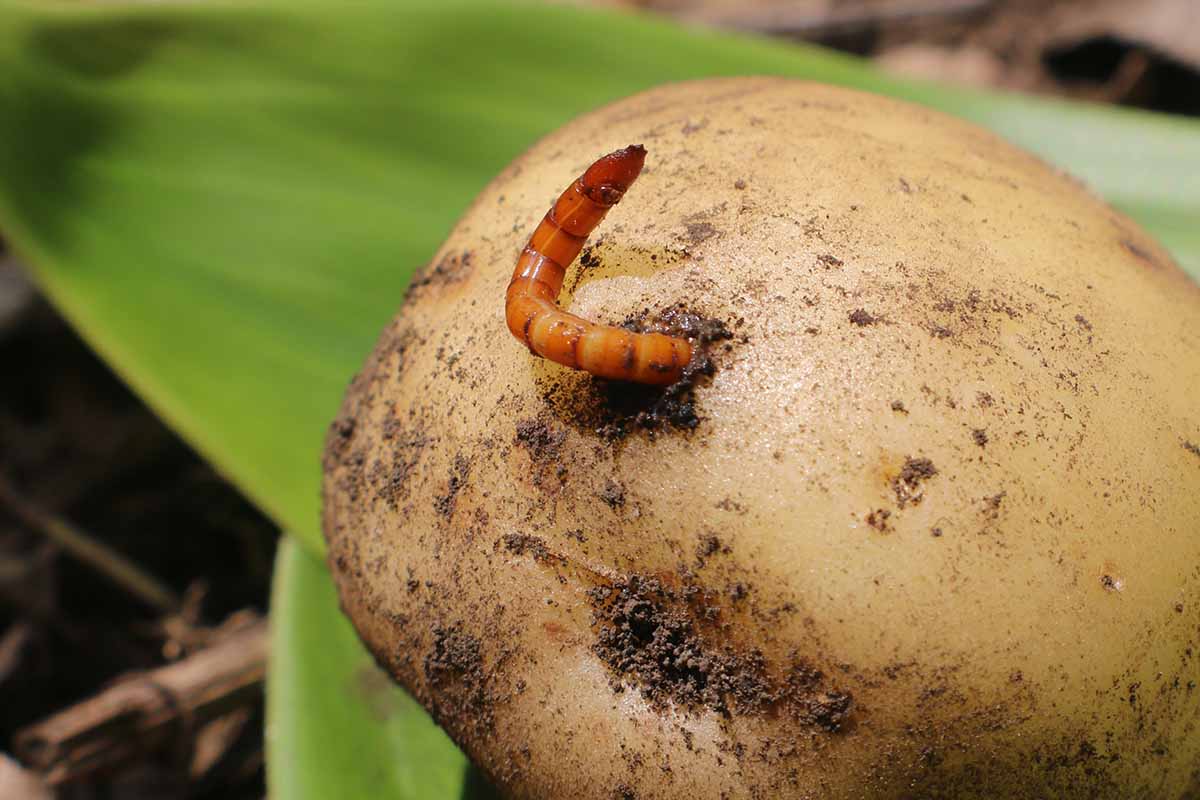
Plus, increased airflow isn’t all that great for pathogen development, and it’s tougher for insects to tunnel through a loose, airy medium.
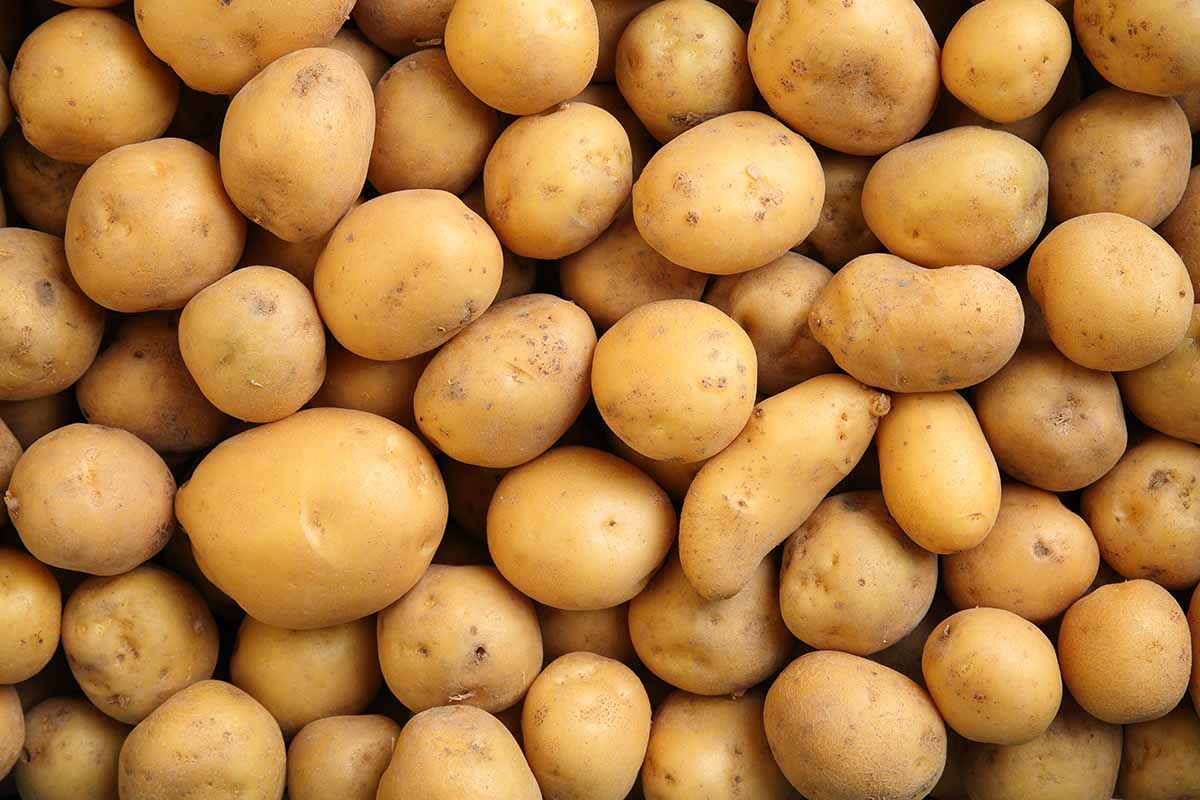
Cleaner Potatoes
There’s nothing wrong with a bit of dirt. But straw doesn’t leave much of a residue, and a tater definitely looks more appetizing when it isn’t caked in soil.
On-The-House Compost
Soil does well with additions of humus, such as well-rotted manure or composted greens.
Straw is great for this, because it’ll add vital organic material as it decays. And once you’re done with it, it’s a perfect ingredient for the compost pile.
What You’ll Need
This endeavor is lovably minimalist, but you still need to gather some supplies. Here’s what you’ll need to get started:
The Right Environment
You can grow S. tuberosum in USDA Hardiness Zones 2 to 11. So as long as you don’t live in a scorching desert or by the Poles, there’s a variety of potato that’ll grow in your garden.
For beds, you’ll need a level patch of well-draining and fertile soil, preferably with a pH of 5.8 to 6.5. Even if you don’t grow your spuds in soil, they’ll need to sit on soil, so that they root.
For bales, the straw is the environment… but more on that below.
And as with many plants grown for food: the more sun, the better the yields.
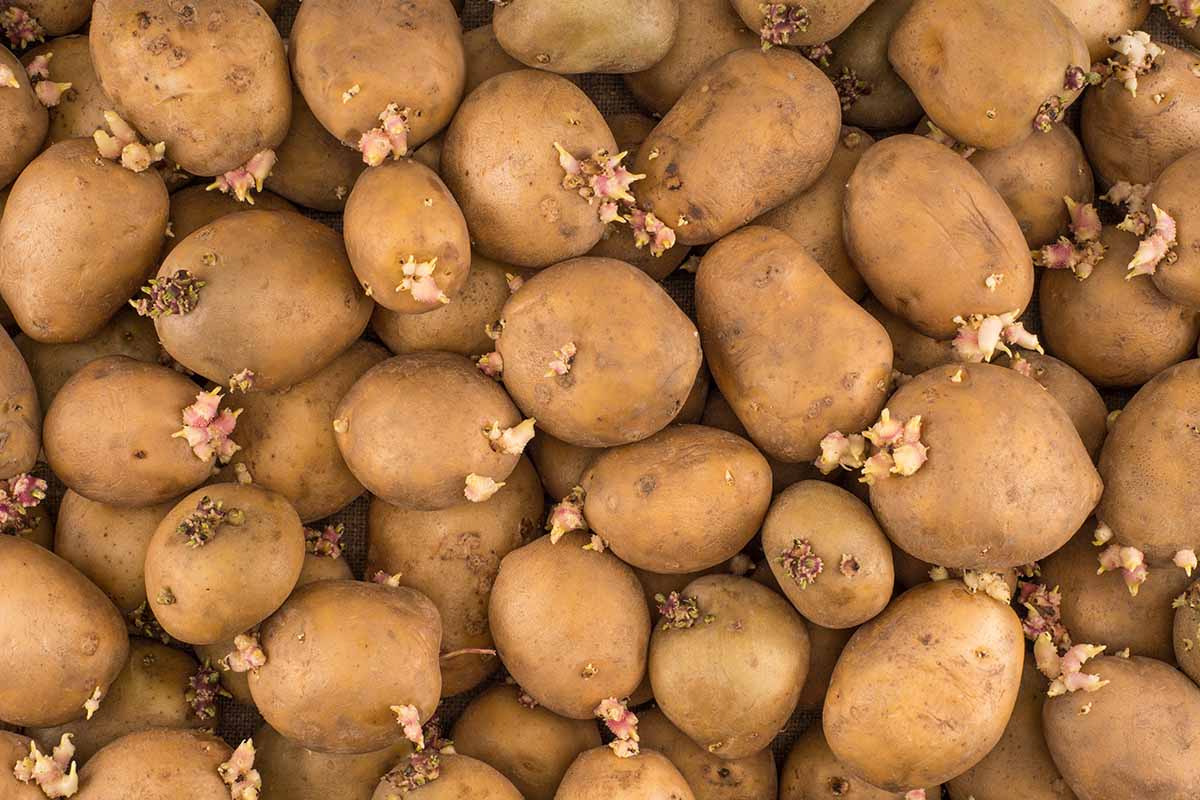
The Right Potato
Duh, right? It’s tough to grow taters sans taters.
But I wouldn’t advise that you use a potato from the store or anything. Conventional, grocery-bought potatoes are often treated in a way that limits their growth if they’re re-planted.
You’d be best served with a seed tuber instead.
As long as you’re working with a small seed tuber, the variety of potato you use is entirely up to you and your taste… and there are plenty of tasty varieties to choose from.
Your mouth still salivating after the word “russet”?
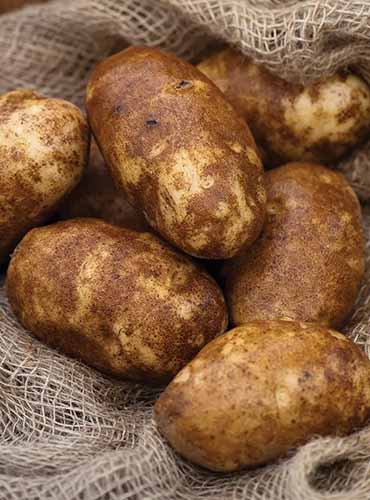
‘Russet Norkotah’
Taking about 85 days to reach maturity, ‘Russet Norkotah’ tubers are available in packs of 10 from Burpee.
Prefer the nutty and buttery taste of ‘Yukon Gold’?
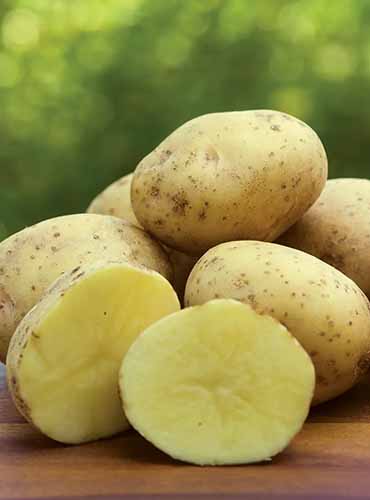
‘Yukon Gold’
Score 10 seed tubers from Burpee. They should be ready to harvest 65 days after planting!
‘Red Luna’
How about a pinkish-red spud which takes 68 days to reach maturity? ‘Red Luna’ is sold in 10-tuber packs at Burpee.
Straw
Another essential ingredient for straw-grown potatoes, straw is cheap and easy to buy.
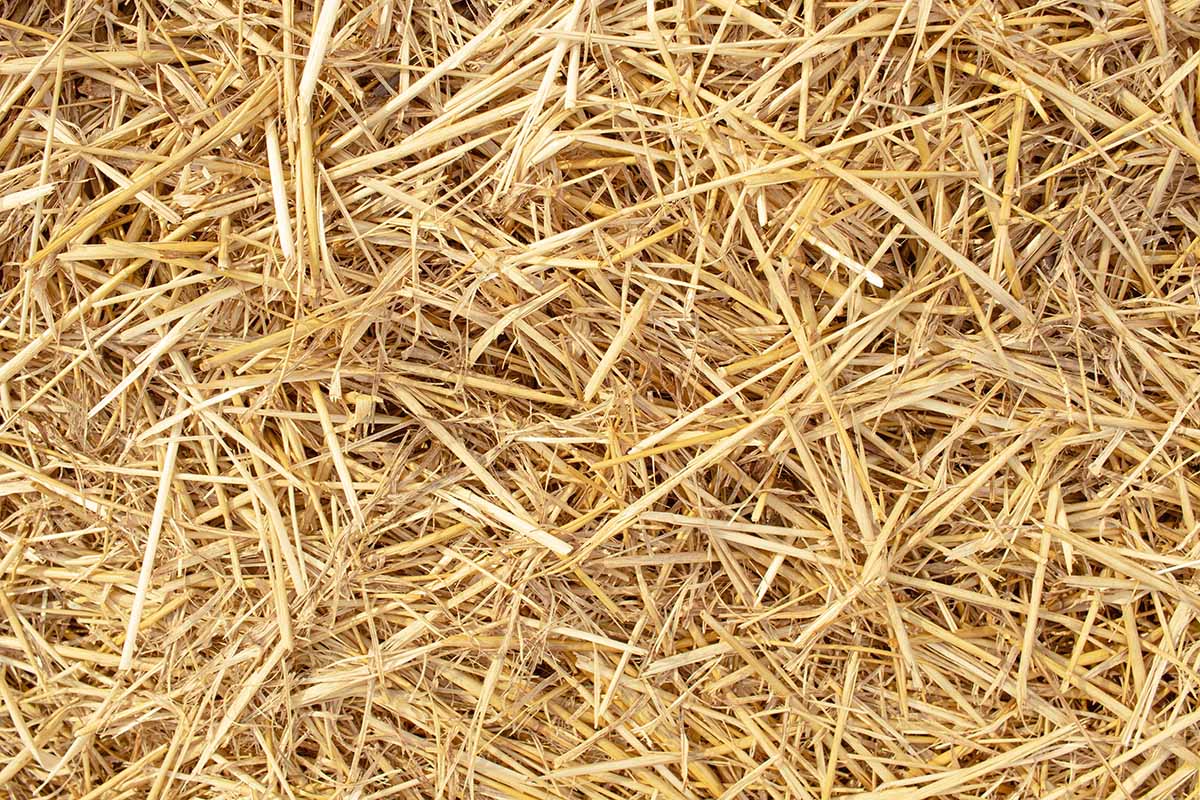
Garden centers, agricultural supply places, and big-name farm stores should all have some available in bale form.
If you live in the States and have neighbors who grow amber waves of grain, you could possibly acquire some fresh straw from them.
Try to acquire some that’s organic and free of pesticides, if possible.
For beds, you’ll also need sticks, canes, or a thin mesh to keep it all from blowing away. And remember: it has to be straw, not hay. If you use hay, you’ll end up with a grassy bed.
Water
Taters love constant moisture, so this is essential. Along with the actual water, you’ll need something to apply it with.
A big ol’ watering can or garden hose would be perfect for the job.
Fertilizer
If you’re growing tubers in bales, then they’ll need some supplemental nutrients that they’d otherwise be receiving from soil.
A liquid 10-10-10 NPK fertilizer for vegetables should do the trick. And since you’ll need to soak the bales regularly for a while, I’d snag one bottle per bale, at least.

Triple 10 All Purpose Fertilizer
For such a product, try this Triple 10 All Purpose Fertilizer from Pendelton Turf Supply, available via Amazon.
How to Grow in Straw Beds
You have all your stuff? Great! Let’s get started.
First, let’s cover how to grow in straw beds.
The earlier a potato starts growing, the bigger it’ll be at harvest time. So I’d try to get your spuds planted as soon as the soil temperature reaches 40 to 50°F in spring.
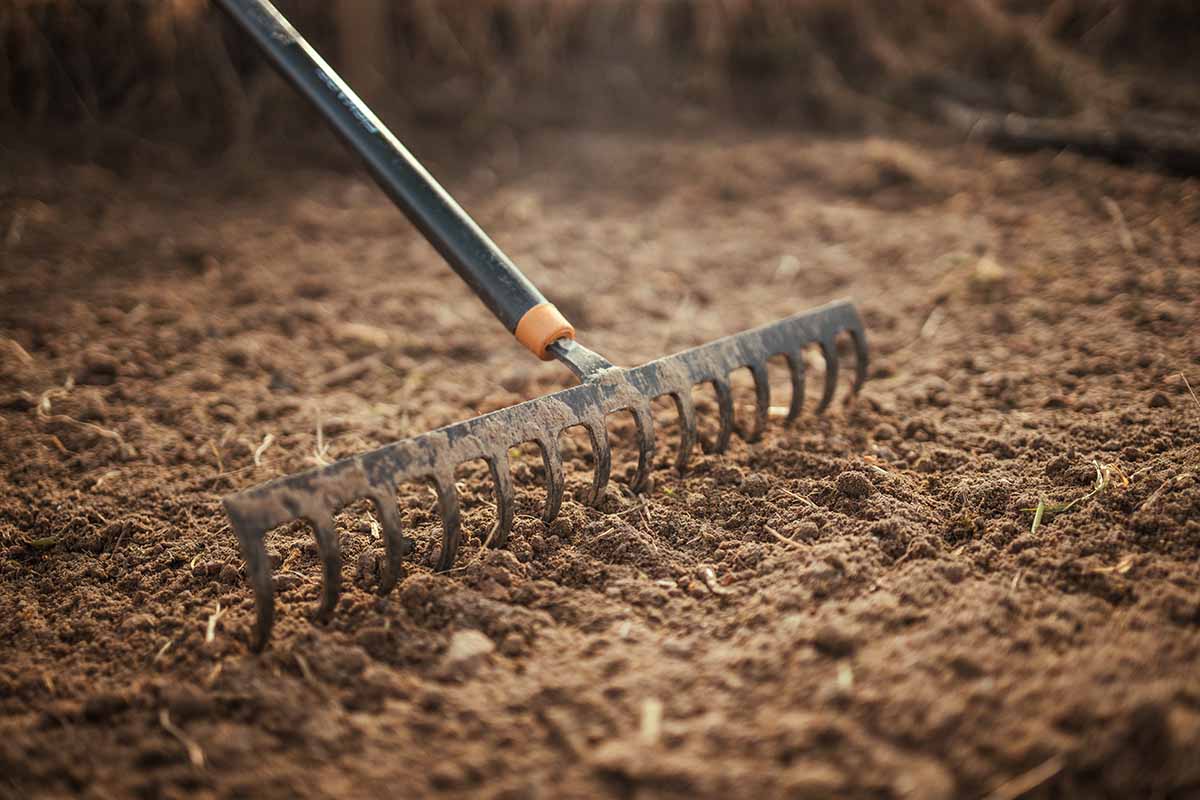
When you’re ready, prepare a level patch of soil – large enough to give each of your seed tubers at least a foot of elbow room – by clearing it of stones, weeding, adding an inch or two of compost, raking it smooth, and moistening it with water.
If it’s clayey or otherwise not well-draining, then you may need to amend the soil prior to prepping the bed for planting. Additionally, a soil test can indicate deficiencies that may need some fertilizer to correct.
Next, gather your seed tubers – make sure each one has at least one eye!
If you’d like to protect your tubers from fungal diseases, shake them up in a bag of elemental sulfur and leave them in the bag indoors at room temperature for a few days before you plant them.
Next, lay your seed tubers on top of the bare soil, spaced 12 to 18 inches apart.
Then, place four to six inches of straw on top of the tubers, breaking it apart and fluffing it up as you do so. Lay sticks, canes, or a thin mesh covering on top to keep it all in place.
Water the straw and soil until it’s all moist, and keep it all moist as the plants grow.
Since straw is airier and less water-retentive than soil, you’ll have to check it for moisture and water it more frequently than you would if you were growing in the ground.
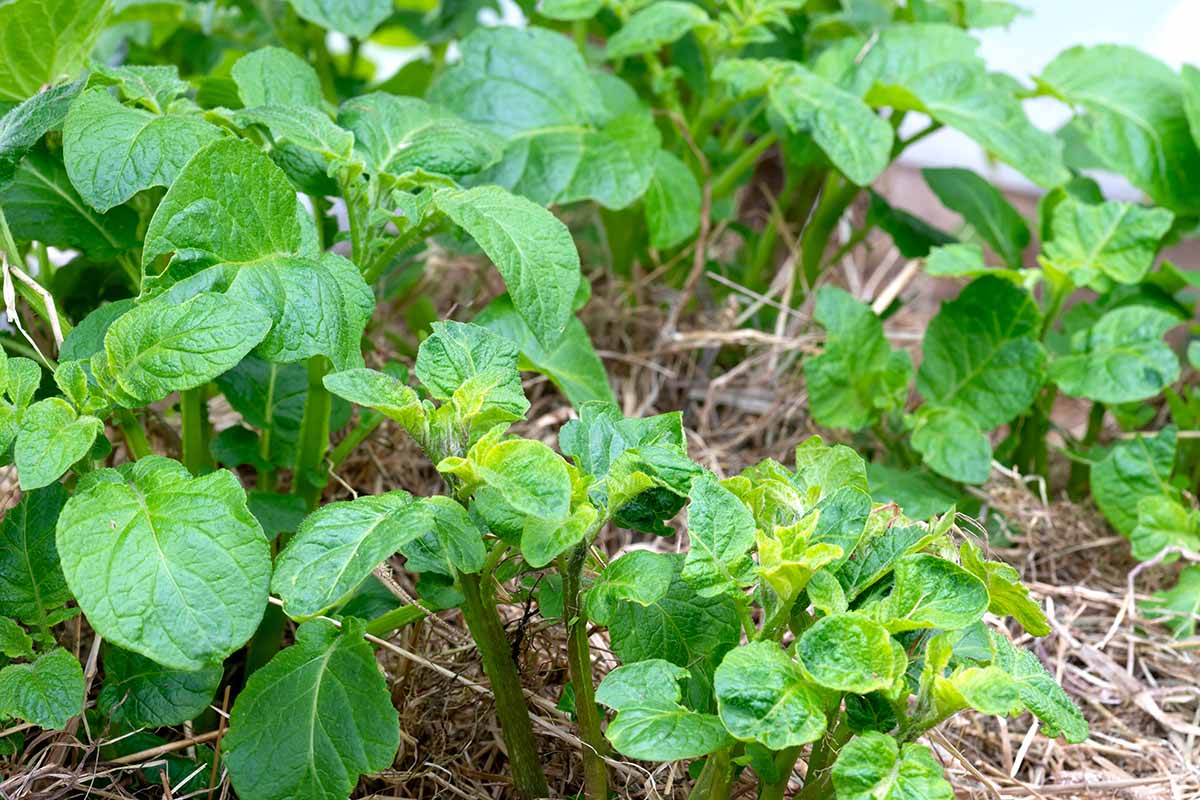
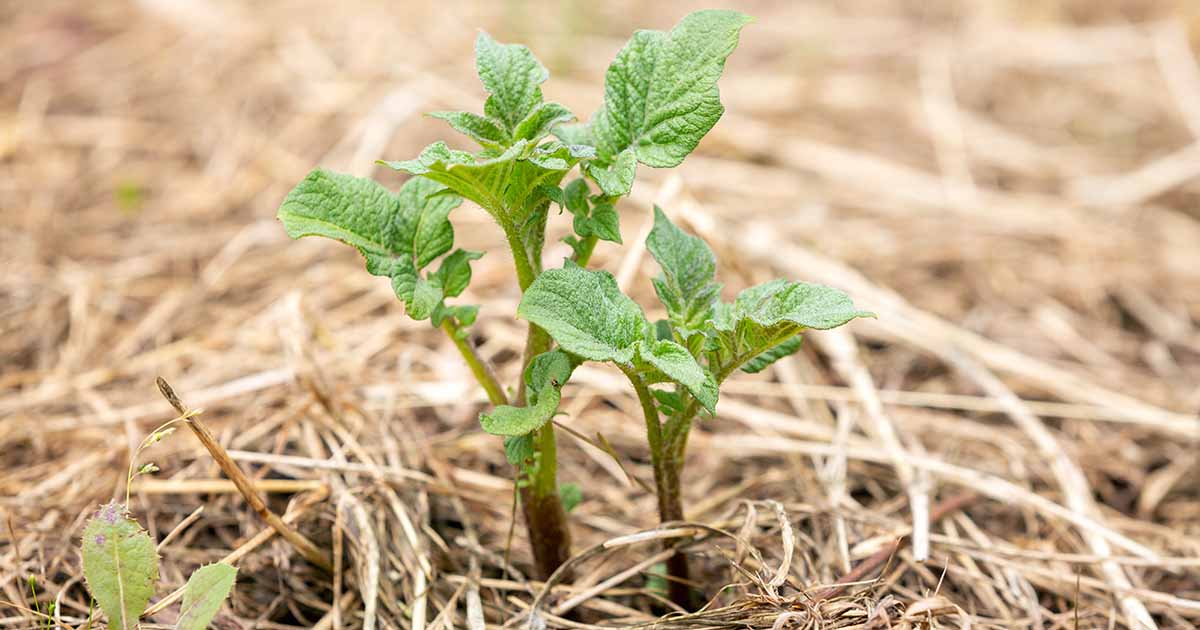
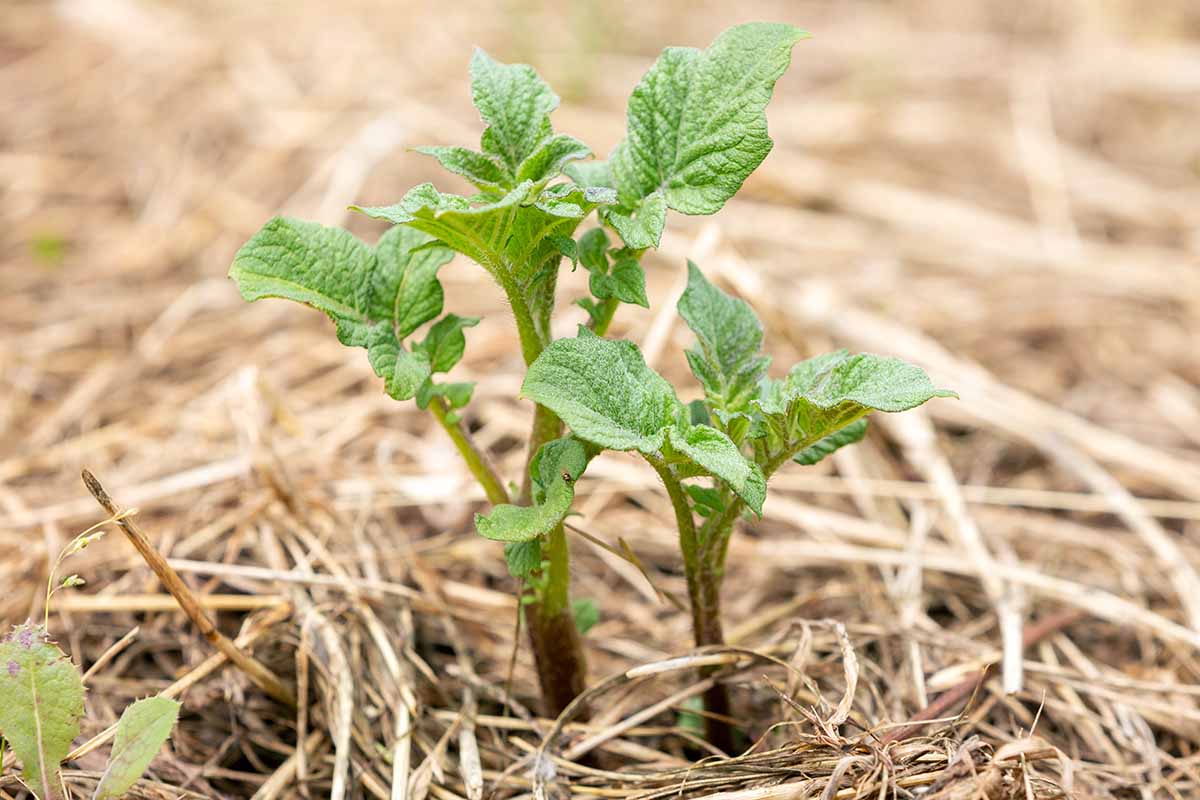
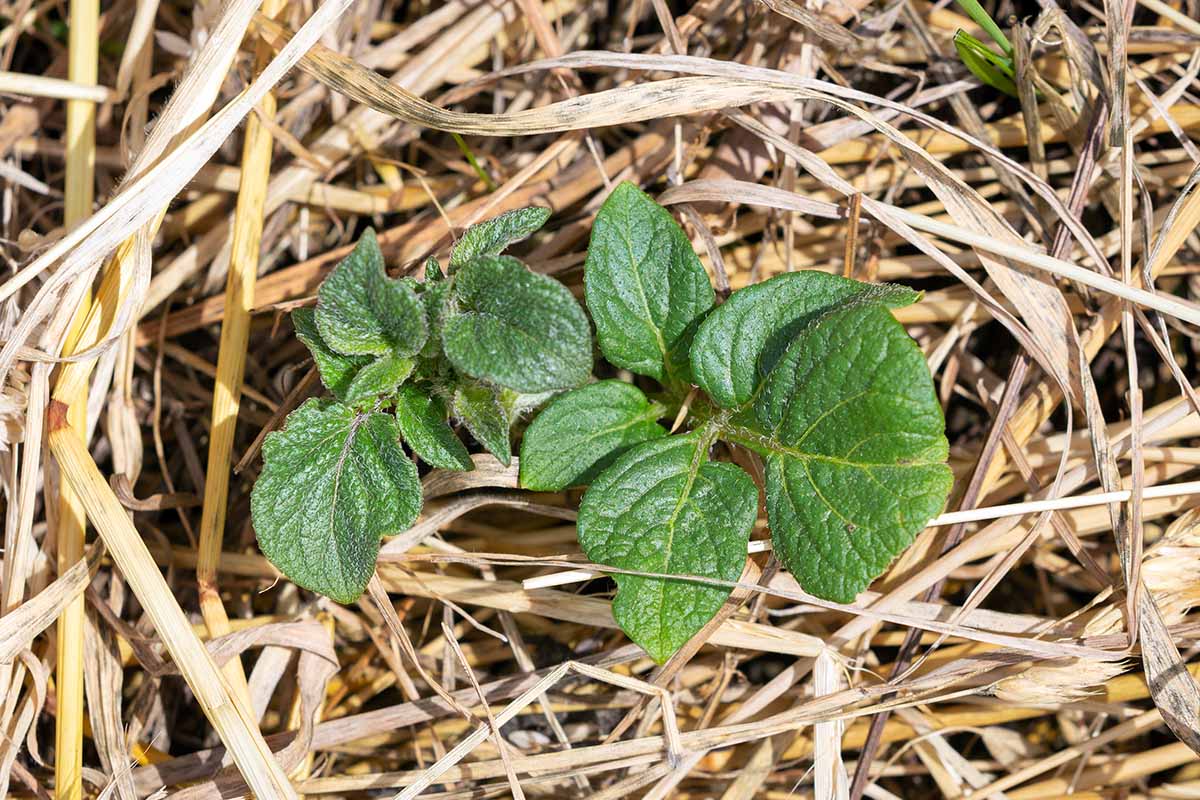
As shoots grow, keep piling up new straw to cover them, leaving only the leafy sections of stem exposed. Pile it up for support without covering the leaves, basically.
Keep up the watering and straw-piling until the foliage dies. At this point, you can uncover and harvest the potatoes.
Growing in Straw Bales
If you’re using bales, you’ll have to do what’s known as “cooking the bales,” which prepares them for potato-growing.
Set out your bales in a full sun location.
Soak the tops with a liquid fertilizer such as the one mentioned above (diluted according to product instructions), and keep the tops moist with fertilizer for two weeks – you’ll have to apply fertilizer to the bales each day.
But every three to four days, keep the bales wet with plain water instead of fertilizer.
Once your bales are “cooked,” gather your seed tubers. Stick the tubers six inches deep in the bales, spaced 10 to 12 inches apart. If you place them right, you can have up to six plants per bale.
Make sure the eyes are pointed straight up – that’s where they’ll sprout from!
Water the bales regularly to keep them moist, and apply liquid fertilizer every two to three weeks. Once the foliage dies, break up the bales to harvest the potatoes within.
Straw-esome Potatoes
Welp, that’s that. Simple, efficient, and enjoyable to harvest, especially if you usually grow spuds in soil.
With this knowledge, you can now grow clean, delicious taters with ease, whether for fun or for the apocalypse. Don’t be afraid to share what you’ve learned with others, either!
Still have questions? Tips and tricks of your own to share? Put it all in the comments section below.
And for more information about growing potatoes in your garden, check out these guides next: