While we hope you all live long and healthy lives without experiencing a medical emergency, they do happen—and if one happens to you or someone close to you, then you want to be as prepared as possible.
The iPhone has a few features that can help. You can log key health details on the handset, which will then be available to emergency responders, if required. There are also a couple of tricks worth knowing for making emergency calls.
This prep doesn’t take long, and should something serious happen to you, you’ll then stand the best chance of getting the help you need. Here’s how to get everything set up so your iPhone is ready for an emergency.
Setting up your Medical ID

You can find your Medical ID by opening the Health app on your iPhone, then tapping your profile picture (top right) and Medical ID. Right away you can turn on the Show When Locked and Share During Emergency Call toggle switches—this will make your details available to others even when your iPhone is locked, and also give you the opportunity to share them on emergency calls.
The details covered here are quite comprehensive: You can provide a list of your current medications, your health conditions, and your allergies, as well as indicating whether or not you’re pregnant. There’s space to include additional information and extra notes, so you can make sure everything that needs to be recorded is available.
There’s no kind of autofill function here though, so it’s on you to make sure your medications, allergies, and conditions are all correctly logged. Don’t guess at terms and spellings, and double-check everything you write down. It’s no exaggeration to say that fixing a mistake in these records could actually save your life.
You’ll also notice an emergency contacts section here, where you can add one or more contacts who will be notified if you use the emergency SOS function (more on this below). All of your emergency contacts will be notified that you’re in trouble, and get details of your current location.
Your emergency contacts won’t automatically get notifications telling them they’ve been added to your Medical ID page, so you might want to let them know separately. Everything is saved as you go: Just tap Done on any details page to update your Medical ID. You can also delete it and start again using the option at the very bottom of the Medical ID screen.
Making an emergency call

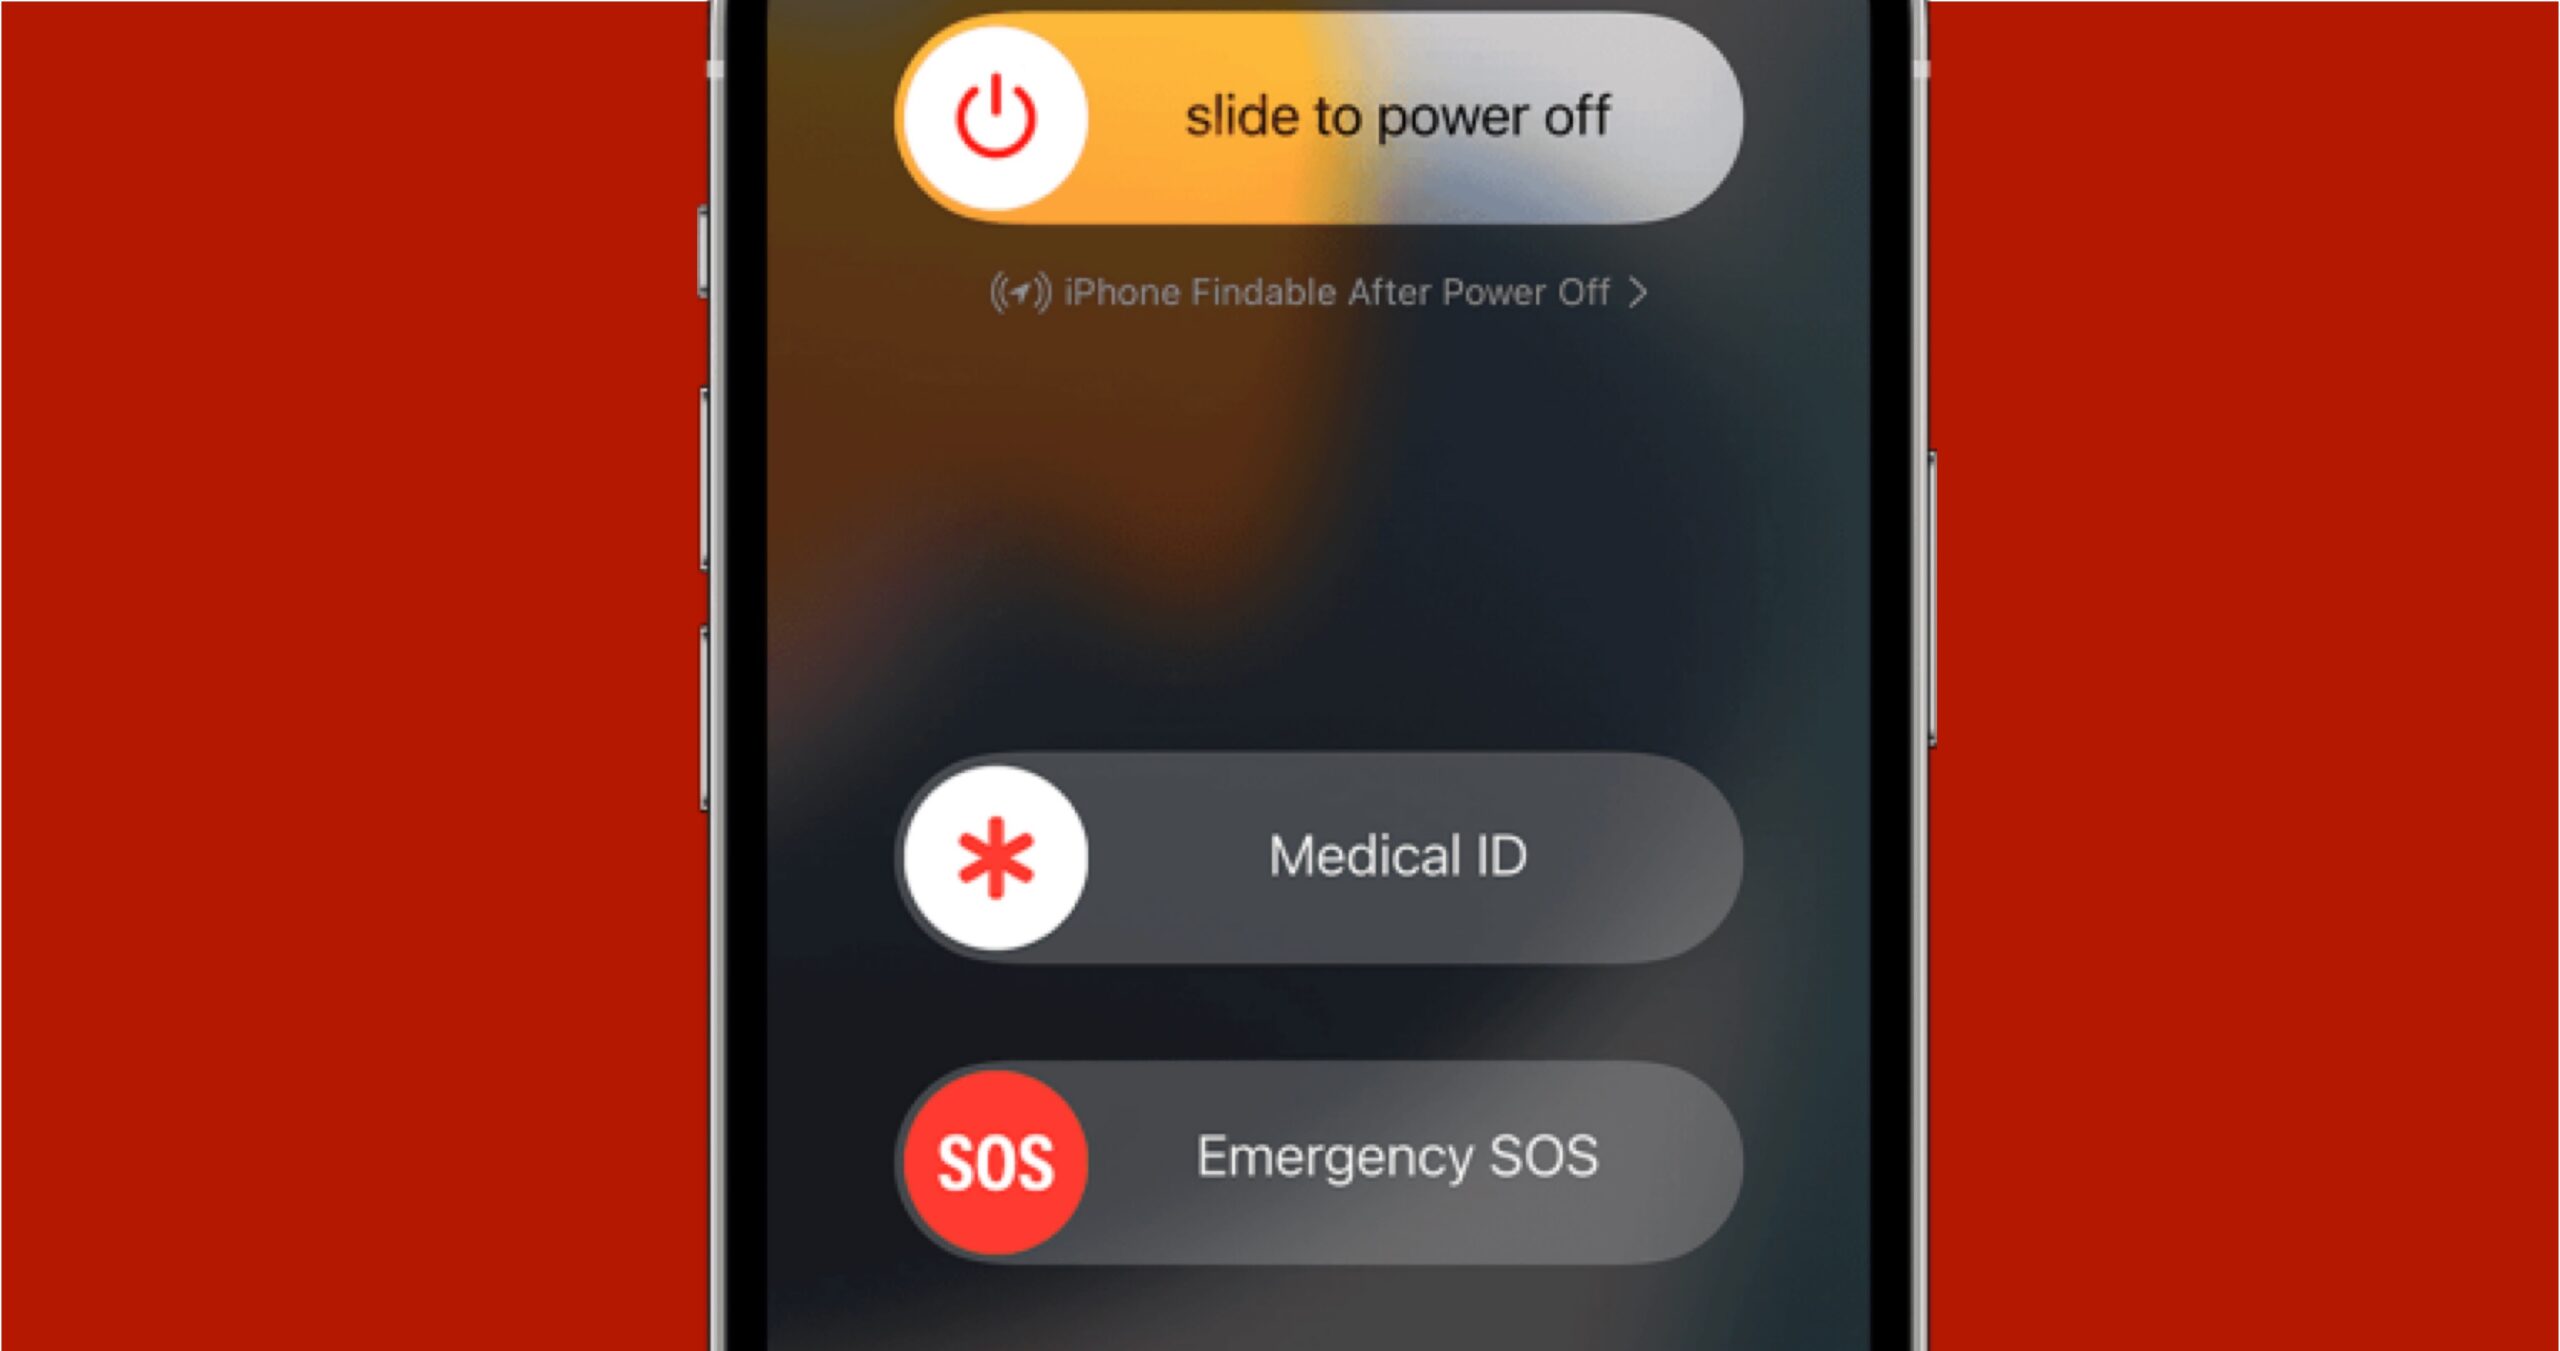
Besides tapping out 911 and hitting the call button, you’ve got a few other options when it comes to contacting emergency services. One is the emergency SOS feature we’ve already mentioned: Simultaneously hold the power button and one of the volume buttons, and keep them pressed down. You’ll see a countdown, and when it expires a 911 call will be placed.
You can also make an emergency call with five taps on the power button, but this isn’t on by default: From Settings, choose Emergency SOS, and enable Call with 5 Button Presses. On the same screen, iOS also lets you disable the hold and press method we’ve covered above, if you don’t want to use it.
If you can’t operate your iPhone with your hands but can talk, meanwhile, you can also say “hey Siri, dial 911” to place an emergency call. Another option you can use—though it’s probably more useful if you’re in danger rather than having a medical emergency—is to text 911 through the Messages app. You get the opportunity to share your Medical ID info during a call, and your emergency contacts get a notification after it has ended.
If you have an iPhone 14 or later, you can use emergency SOS via satellite. Try placing the 911 call as normal first, and if there’s no cell or Wi-Fi signal, you’ll see an Emergency Text via Satellite button: Tap this, follow the instructions on screen, and you’ll be able to send a text to emergency responders with details of your predicament.
If you come across someone else’s iPhone during an emergency, on the lock screen when the PIN pad appears, tap Emergency and then Medical ID. You can also use this method to call 911 from a locked iPhone, and to double-check how your own medical details appear when someone else accesses them.


